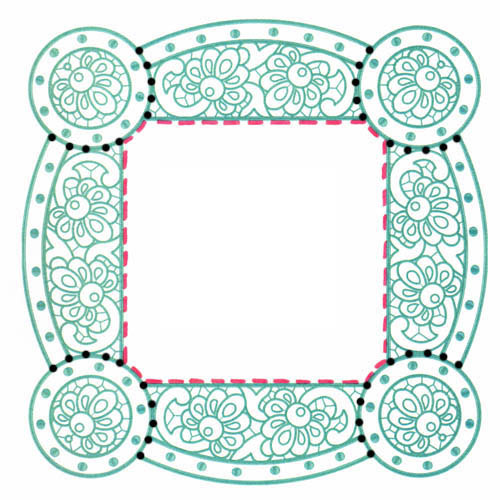
 Diva Tea Cloth machine embroidery design is approximately 18 inches square in size. For this project you will need to have the following:
- Basic embroidery tools
- 22 x 44 inches fine linen cloth (we used white Irish linen)
- Water soluble-stabilizer (preferably Vilene)
- Threads: baby blue rayon, your choice of brand
Feel free to use any of your favorite colors for this project. Embroider the following appliqué/cutwork border pieces:
- 4 of Diva_01
- 4 of Diva_02
Once you are finished embroidering all border pieces, cut excess stabilizer, leaving about quarter of an inch from the edge. DO NOT wash off stabilizer. Connect all elements together as shown on diagram 1; then attach your border to your linen fabric with pins or basting stitch. Start sewing border to fabric with straight stitch first. Trim excess fabric from the back and use zigzag stitch all around. For your final pass use satin stitch. Follow color chart to complete your tea cloth.
COLOR CHART
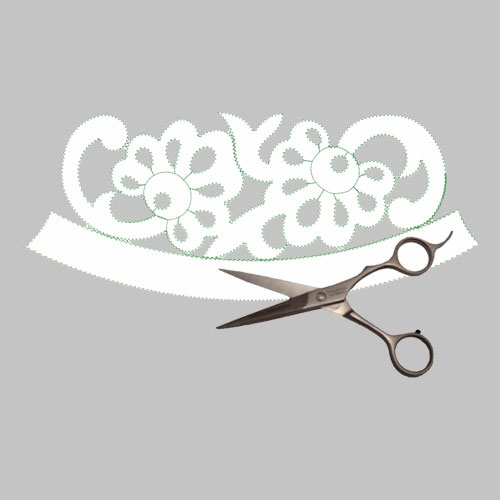
Diva_01. 20246 stitches, 239.2 mm x 101.8 mm. Hoop two layers of water-soluble (Vilene) stabilizer. Start embroidery:
- Baby blue
- STOP – (do not change the thread) Place fabric appliqué (white linen or cotton) to cover the design approximately 7 x 9 inches on top of hooped stabilizer and continue to sew the outline
- STOP – Cut away excess fabric (as shown on figure 1) and continue to sew
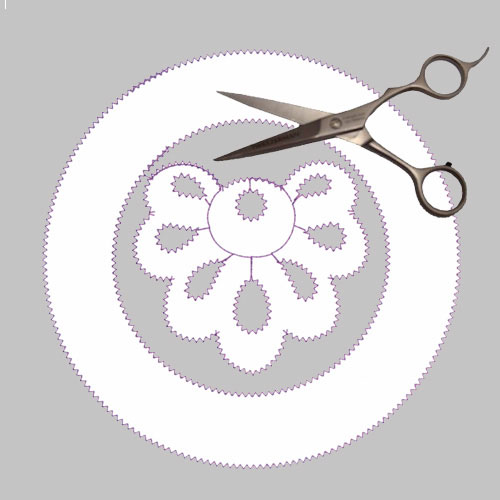
Diva_02.11905 stitches, 124 mm x 123.9 mm. Hoop two layers of water-soluble (Vilene) stabilizer. Start embroidery:
1. Baby blue
2. STOP – (do not change the thread) Place fabric appliqué (white linen or cotton) to cover the design approximately 6 x 6 inches on top of hooped stabilizer and continue to sew the outline
3. STOP – Cut away excess fabric (as shown on figure 2) and continue to sew
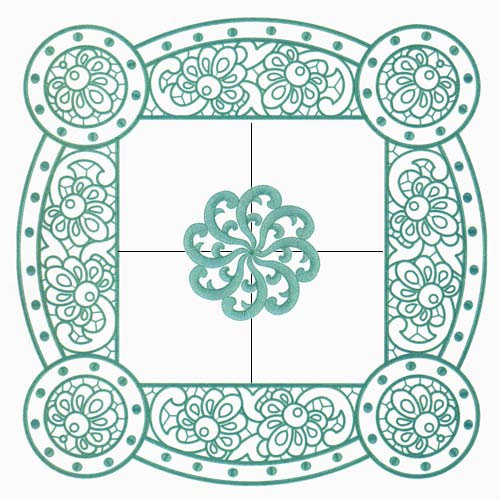
Diva_03.8406 stitches, 134.6 mm x 134.6 mm. Hoop one layers of water-soluble (Vilene) stabilizer. After finding and marking center of the cloth, place it on top of the hooped stabilizer. Make basting stitch to hold the fabric in place. Start embroidery:
1. Baby blue
Once you finished centerpiece design your final step is to wash off stabilizer (usually we soak it in the water overnight), flat dry and press from the back. Diva is ready for display!
*All artwork is 100% authentic by Embroidered Necessity and is protected by copyright.
Reviews and questions concerning the project are welcome, please write them as comments bellow and we’ll reply!


I’m not able to view this web site correctly on saffari I think there is a downside
Hi, I just checked Safari 5.0.3. It works correctly with embroidnes.wordpress.com! You can try upgrade your Safari or use another Web browser.